AX2243
Using the File Processing Scheduler task, you can schedule a report for processing. The report must already be configured for file processing in order to process it using Scheduler.
After you have a Scheduler job set up, you can run it on demand or you can schedule it for future execution. For example, you may have a set of reports that you want to run every week, every month, or every quarter.
Requirements and limitations
Note the following requirements when running file processing using Scheduler:
-
The Output Folder location must be accessible by the Scheduler service user account (for on-premises systems) or the Axiom Cloud Integration Service (for cloud systems). If you specify a network folder location clicking Browse, the location is automatically entered as a UNC path. If you specify a C: drive location, that location will be evaluated as the C: drive of the Scheduler server.
-
If the file processing type is Print, the Scheduler server(s) must be configured to access the specified printer. This may require the assistance of your IT department.
Create the Scheduler job
To create a Scheduler job, you must be an admin or have the Scheduled Jobs User security permission. Non-admin users must also have read/write access to at least one folder in the Scheduler Jobs Library.
You can only create Scheduler jobs in the Desktop Client General term for using either the Excel Client or the Windows Client, both of which are installed to the user's desktop.. Although you can view the status of existing jobs in the Web Client, you cannot create new jobs in that environment.
Create a File Processing job in Scheduler
-
On the Axiom tab, click Manage > Scheduler in the Administration group.
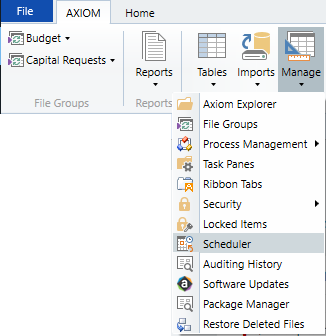
In systems with installed products, this feature may be located on the Admin tab.
-
On the System Management group, click Scheduler.
-
In the Scheduler dialog, click New.
-
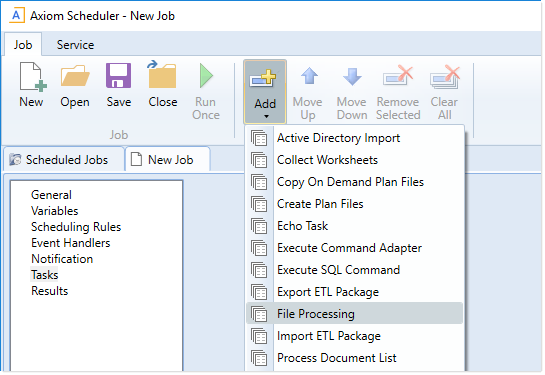
Click Add > File Processing to add the task to the new job.
-
The task is added to the job and you can now configure the task properties.
-
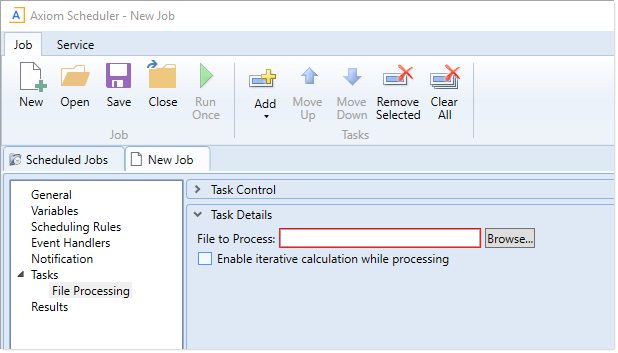
In the Task Details section, click Browse to select the File to Process.
-
You can select any file that you have access to in the Reports Library, or in the Utilities folder of a file group. The file must already be enabled for file processing to be processed using Scheduler. If you select a file that is not enabled for file processing, the task shows a configuration error.
-
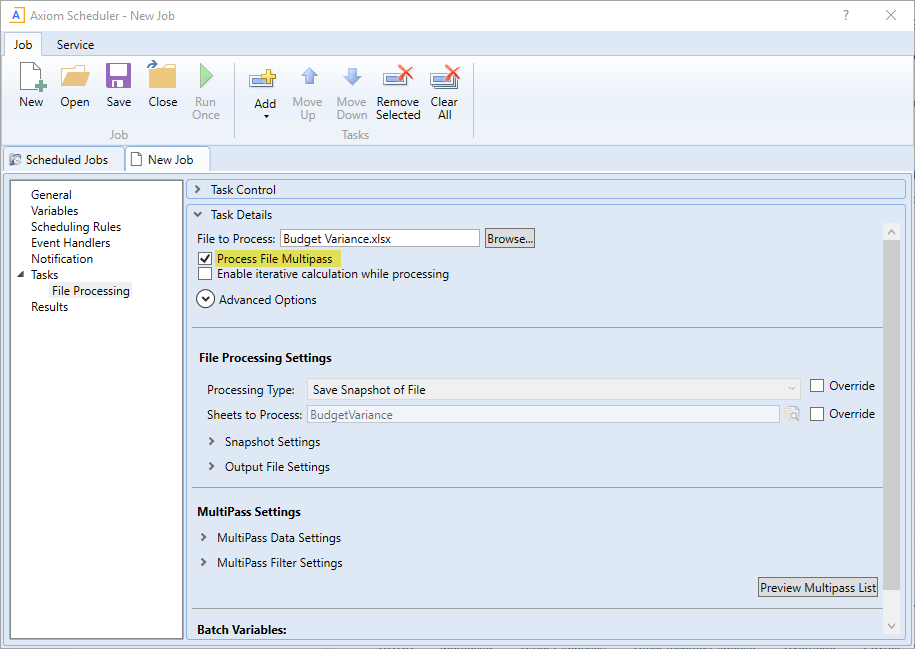
If you want to process the file using multipass processing, make sure you select that Process File Multipass. It is selected by default for most file processing files. However, if you do not want to perform multipass processing, you should clear this option.
-
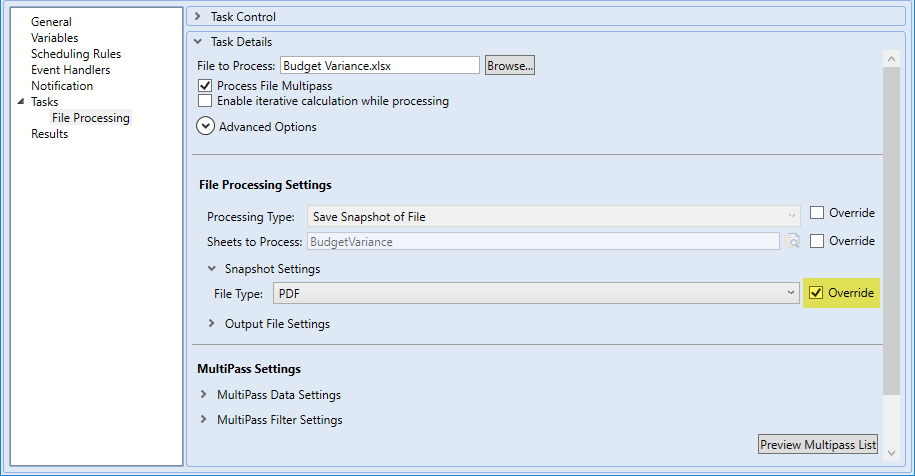
If needed, you can override certain file processing settings defined in the file (including batch variables) so that the override value is used when the file is processed by Scheduler. To override a setting, select the Override check box for that setting and then enter the override value into the field.
-
In the following example, the file type of the output file has been overridden and changed to PDF output for the Scheduler run.
-
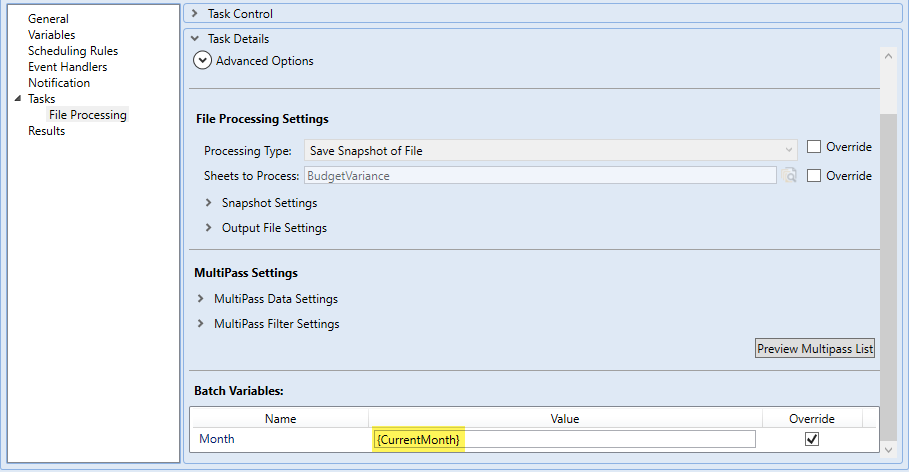
When overriding values, you can use scheduler job variables in fields that accept your entries. The following example shows a Scheduler job variable being used to set the value of a batch variable.
-
Complete any other job or task properties, as needed. For example, you may want to configure the following:
-
Scheduling Rules: You can create a scheduling rule to run the job according to a predefined schedule.
-
Notification: You can edit the notification settings to send emails to designated recipients when the job runs successfully and/or when it errors.
For the remaining properties, in most cases, the default settings are sufficient.
-
-
Click Save. You can define a name for the job and save it to the preferred location in the Scheduler Jobs Library.
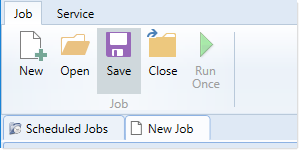
After the job is saved, you can run it, as needed, by clicking Run Once. If the job has a defined scheduling rule, it will be automatically placed on the schedule for future running according to that rule.
